How to Set Up an eSIM for Europe Before You Fly: A Complete Step-by-Step Guide
Why You Should Set Up Your Europe eSIM Before Takeoff
Landing in a foreign city without mobile data feels a lot like landing without a map. No GPS to reach your hotel, no quick translation app at the taxi rank, no way to message home. An eSIM eliminates that gap entirely — and the smartest move is to have it configured before you board your flight.
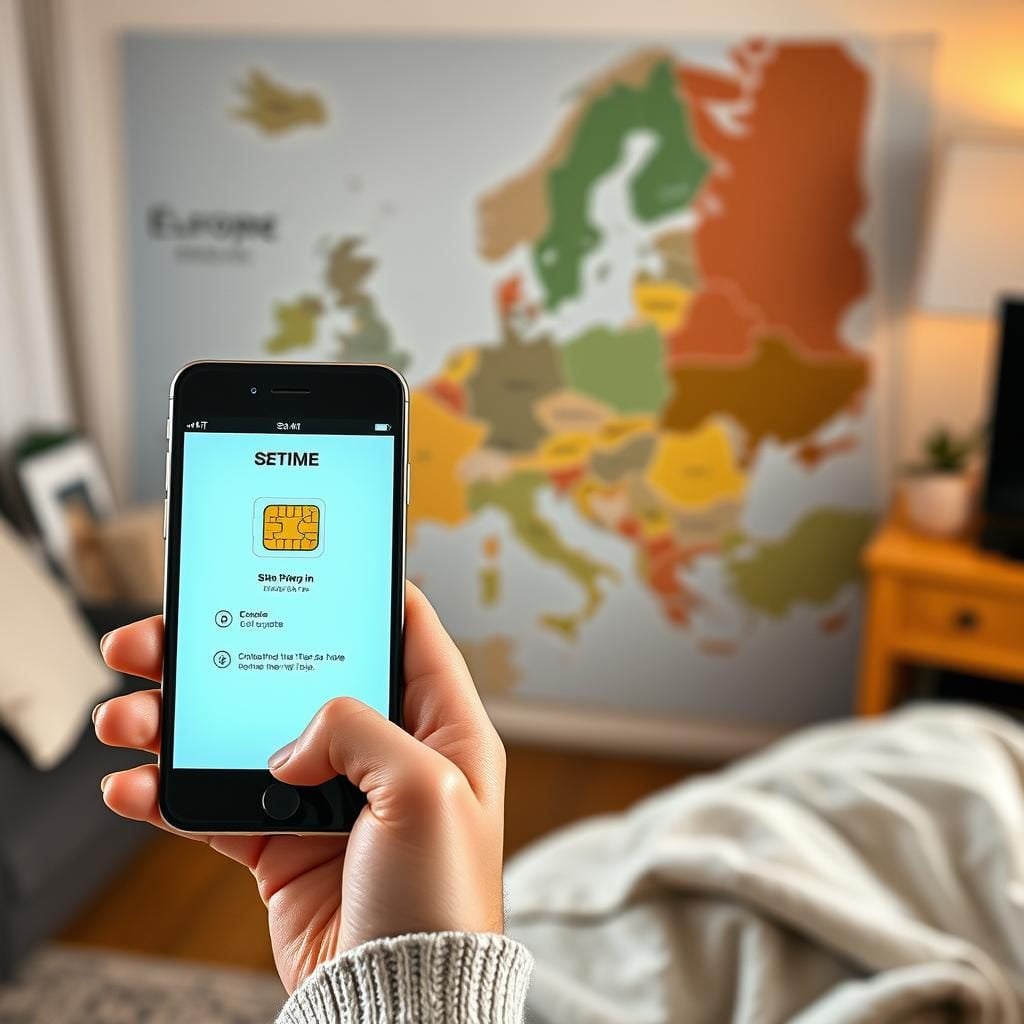
Unlike a physical SIM card, an eSIM is a digital profile embedded in your phone. There’s no plastic tray to fumble with, no tiny chip to lose in the bottom of your carry-on. You scan a QR code or tap a link, and a European data plan installs directly onto your device. By the time your plane touches the tarmac in Paris, Lisbon, or Berlin, your phone is already connected.
This guide covers every step from confirming your device supports eSIM technology to activating your plan and troubleshooting any hiccups. Whether you’re a first-time eSIM user or someone who’s only ever swapped physical SIMs, you’ll have everything you need to get connected with confidence.
TL;DR — Quick Summary
Check your phone supports eSIM (most iPhones from XS onward, many Samsung Galaxy and Google Pixel models). Choose a plan that covers the countries on your itinerary. Purchase and install the eSIM profile before your trip — many providers let you activate days or weeks in advance. Keep your primary SIM for calls and texts, and assign the eSIM as your data line. Test the profile on Wi-Fi before departure. On arrival, enable data roaming and you’re online.
Step 1: Confirm Your Device Is eSIM-Compatible
Not every smartphone supports eSIM, and even some that do may have the feature disabled by your carrier. This is the first checkpoint, and it takes less than a minute.
iPhone
Apple introduced eSIM support with the iPhone XS, XS Max, and XR in 2018. Every model since — including the iPhone 11 through iPhone 15 lineup — supports eSIM. The iPhone 14 and later models sold in the United States don’t even have a physical SIM tray; they rely exclusively on eSIM. To verify, go to Settings > General > About and look for a field labeled “Available SIM” or “EID.” If you see an EID number, your iPhone supports eSIM.
Android (Samsung, Google Pixel, Others)
Samsung’s Galaxy S20 and newer, Galaxy Z Flip and Z Fold series, and select A-series models support eSIM. Google Pixel phones from the Pixel 3a onward are compatible. Other brands — including Xiaomi, Oppo, and Motorola — have introduced eSIM support on select flagships. For Android, navigate to Settings > Connections > SIM Manager (Samsung) or Settings > Network & Internet > SIMs (Pixel). If you see an option to add an eSIM, you’re good to go.
Carrier Lock Check
A carrier-locked phone may technically support eSIM but block profiles from other providers. If your phone was purchased through a carrier on an installment plan, confirm it’s unlocked. On iPhone, go to Settings > General > About and scroll to “Carrier Lock.” It should read “No SIM restrictions.” On Android, inserting a SIM from a different carrier is the fastest test. According to Apple’s official support page, devices must be unlocked before installing a third-party eSIM profile.
Step 2: Choose the Right European eSIM Plan
Data plans for Europe vary widely in coverage, data allowance, validity period, and extras like phone numbers. Picking the right one depends on your itinerary and how you use your phone.
Data-Only vs. eSIM with a European Phone Number
Most travel eSIMs are data-only — perfect if you rely on WhatsApp, iMessage, or Zoom for communication. But if you need a local European phone number for booking confirmations, restaurant reservations, or receiving SMS verification codes, look for an europe esim with number. Having a reachable number on a European network is a practical advantage many travelers overlook.
Coverage Area
Some plans cover all 27 EU member states plus the UK, Switzerland, Norway, and Iceland. Others are limited to specific countries. If your trip takes you from Amsterdam to Zurich to London, verify every country is included. Multi-country plans that operate on networks like Vodafone, Orange, and T-Mobile across borders offer the smoothest experience.
Data Allowance and Validity
A one-week city break might need 3–5 GB. A month-long backpacking trip through multiple countries could require 10–20 GB or more. Streaming video eats through data fast, so budget accordingly or plan to use hotel Wi-Fi for heavy downloads. Validity periods typically range from 7 to 30 days, with some providers offering flexible top-ups.
Price Comparison
European eSIM plans generally cost between $8 and $50, depending on data volume and duration. That’s almost always cheaper than international roaming through a US, Canadian, or Australian carrier. Check for hidden fees — some providers charge activation costs or limit speeds after a threshold. Browsing a dedicated europe esim catalog lets you compare plans side by side.
Step 3: Purchase and Install the eSIM Profile
Once you’ve selected a plan, the installation process is straightforward. Most providers deliver the eSIM profile as a QR code via email or through a companion app.
QR Code Method (Most Common)
1. Open the email containing your QR code on a laptop or tablet — you’ll need your phone’s camera free to scan it.
2. On iPhone, go to Settings > Cellular > Add eSIM > Use QR Code.
3. On Android, go to Settings > Network & Internet > SIMs > Add eSIM and select “Scan QR code.”
4. Point your phone’s camera at the QR code. The device will detect the carrier profile and begin downloading it.
5. Follow the on-screen prompts to label the new line (e.g., “Europe Travel”) and assign it as your data line.
App-Based Installation
Some providers offer a dedicated app that handles the entire process. You purchase the plan within the app, and it pushes the eSIM profile directly to your device — no QR code scanning required. This method works well for less tech-savvy travelers.
Manual Activation Code
If you can’t scan a QR code, most providers supply an activation code (SM-DP+ address and activation code string). You can enter these manually in your phone’s eSIM settings. It achieves the same result as the QR scan.
Whichever method you use, do this at home on Wi-Fi — not at the airport gate with patchy connectivity.
Step 4: Configure Your Dual-SIM Settings
Most modern phones support dual SIM — your existing physical SIM (or primary eSIM) plus the new travel eSIM. Configuring these correctly prevents billing surprises and ensures smooth connectivity.
Assign Roles to Each Line
Your phone will ask you to designate a default line for voice calls, messages, and cellular data. Set your new European eSIM as the default data line. Keep your home SIM as the default for calls and texts if you want to remain reachable on your existing number.
Disable Data Roaming on Your Home SIM
This is critical. If your home carrier’s data roaming remains active, your phone might route traffic through that line instead of the eSIM — racking up international charges. On iPhone, tap on your home SIM line under Settings > Cellular and toggle off “Data Roaming.” Enable data roaming only on the European eSIM line.
Label Your Lines Clearly
Rename each line so you can identify them at a glance. “Home — Verizon” and “Europe Travel” is far more useful than “Primary” and “Secondary.” This small step saves confusion when toggling settings mid-trip.
Step 5: Test Before You Fly
You’ve installed the profile and configured dual-SIM settings. Now verify everything works before you leave home.
Some eSIM plans activate immediately upon installation; others activate on a specific start date or when the device first connects to a supported network. If your plan uses delayed activation, you won’t see signal bars yet — that’s expected. What you can verify is that the profile appears correctly in your SIM settings and shows the correct carrier name or “No Service” (which will change once you’re in Europe).
If the plan activates immediately, you might see the eSIM carrier name appear even in your home country — though data won’t work until you’re within the covered European region. The key thing: make sure the profile is installed and visible.
Investing a few minutes in an europe esim with number before departure means you’re not troubleshooting connectivity issues in a foreign airport.
Step 6: Arrive in Europe and Connect
When your plane lands and you switch off airplane mode, your eSIM should automatically connect to a local partner network. Here’s what to expect:
1. Turn off airplane mode.
2. Your phone searches for available networks. Within 30 seconds to two minutes, you should see a carrier name and signal bars on the eSIM line.
3. Open a browser or app to confirm data is flowing.
4. If the connection doesn’t happen automatically, go to your eSIM’s cellular settings and toggle “Data Roaming” on for that line.
That’s it. You now have European mobile data. Open Google Maps, pull up your boarding pass, message your host — you’re fully connected.
Troubleshooting Common eSIM Issues
Even with careful preparation, occasional hiccups happen. Here are the most common issues and how to resolve them.
eSIM Profile Won’t Download
This usually means your Wi-Fi connection is unstable or your phone is carrier-locked. Switch to a stronger Wi-Fi network and retry. If the download still fails, contact your carrier to confirm the device is unlocked.
No Signal After Landing
First, confirm data roaming is enabled on the eSIM line. Then try restarting your phone — this forces it to re-register with local networks. If the problem persists, go to Settings > Cellular > Network Selection and manually select a partner carrier. The Google Fi troubleshooting guide offers useful general advice on network registration issues that applies to any eSIM.
Slow Data Speeds
You may have landed on a congested tower, especially in busy airports. Move to a different area and test again. If speeds remain slow, check whether you’ve exceeded any fair-use data threshold on your plan. Some budget eSIM plans throttle speeds after a certain limit.
eSIM Disappeared from Settings
Rare, but it happens — usually after a major iOS or Android update. Check your SIM settings carefully; the profile may still be installed but toggled off. If it’s truly gone, contact your provider for a replacement QR code.
Can’t Receive SMS Verification Codes
If your banking or email app sends codes to your home number, those texts route through your physical SIM — which may not work abroad without an international plan. Solutions: enable Wi-Fi calling on your home line, switch to app-based 2FA before you travel, or use an europe esim that includes a European number capable of receiving SMS.
Pro Tips for Getting the Most Out of Your Europe eSIM
Download offline maps. Even with generous data, offline maps in Google Maps or Maps.me reduce data consumption and work in tunnels, subways, and spotty coverage zones.
Use Wi-Fi when available. Hotels, cafes, and airports across Europe offer free Wi-Fi. Save your eSIM data for when you actually need mobile connectivity.
Monitor data usage. Both iOS and Android show per-line data consumption in settings. Check periodically so you’re not blindsided by overages.
Consider a plan with top-ups. If your trip extends unexpectedly or you burn through data faster than planned, a provider that allows easy top-ups saves you from buying a second eSIM.
Keep your QR code email. If you need to reinstall the profile — say, after a factory reset or phone swap — having that original email accessible is essential. Some providers allow only a single download per QR code, so check the policy.
eSIM vs. Physical SIM vs. Pocket Wi-Fi: Why eSIM Wins for Europe
Physical SIM cards still work fine, but they require finding a shop, swapping trays, and storing your home SIM safely. Pocket Wi-Fi devices add bulk to your bag and need daily charging. An eSIM eliminates all of that. It’s instant, weightless, and lives entirely in software.
For multi-country European trips, eSIMs are especially practical. A single profile can cover 30+ countries seamlessly, whereas a physical SIM from one carrier may not roam as broadly or cheaply. The convenience gap is significant.
When to Buy Your eSIM
There’s no reason to wait until the last minute. Most plans let you purchase and install 7–30 days before activation. Buy it the week before your trip, install it on a quiet evening at home, and verify the profile is ready. This gives you time to troubleshoot if anything goes sideways — without the stress of doing it at the gate.
Frequently Asked Questions
Can I install an eSIM for Europe before I leave my home country?
Yes. Most European eSIM providers allow you to purchase and install the profile days or even weeks before departure. The plan typically activates when you connect to a supported network in Europe or on a specified start date. This is the recommended approach — set everything up at home on stable Wi-Fi so you’re ready the moment you land.
Which phones support eSIM for European travel?
iPhones from the XS (2018) onward, Samsung Galaxy S20 and newer, Google Pixel 3a and later, and select models from Xiaomi, Oppo, and Motorola all support eSIM. Your device must also be carrier-unlocked to accept a third-party eSIM profile. Check your phone’s settings to confirm eSIM capability before purchasing a plan.
Will my home phone number still work if I use a European eSIM?
Yes. With dual-SIM functionality, your home SIM stays active for calls and texts while the European eSIM handles data. You can receive calls on your home number as long as your domestic carrier permits incoming calls while abroad, though standard international rates from your carrier may apply to voice calls.
Do I need to turn on data roaming for my eSIM to work in Europe?
Yes. Because the eSIM profile connects to partner networks across European countries, data roaming must be enabled on the eSIM line specifically. Make sure data roaming is turned off on your home SIM line to avoid unexpected charges from your domestic carrier.
Can I get a European phone number with an eSIM?
Some eSIM plans include a European phone number for receiving calls and SMS. This is useful for hotel bookings, two-factor authentication codes, and local communication. Not every plan offers this, so check the details before purchasing if a local number matters for your trip.
What happens if I run out of data on my Europe eSIM?
Depending on the provider, you may be able to purchase a data top-up through their app or website. If top-ups aren’t supported, you can buy and install an additional eSIM plan — most phones can store multiple eSIM profiles. Monitoring your data usage through your phone’s settings helps you avoid running out unexpectedly.


 eSIM Vatican 30GB
  eSIM Vatican 120GB
  eSIM Vatican 60GB